Milk Frothing and Latte Art Basics
7 min read
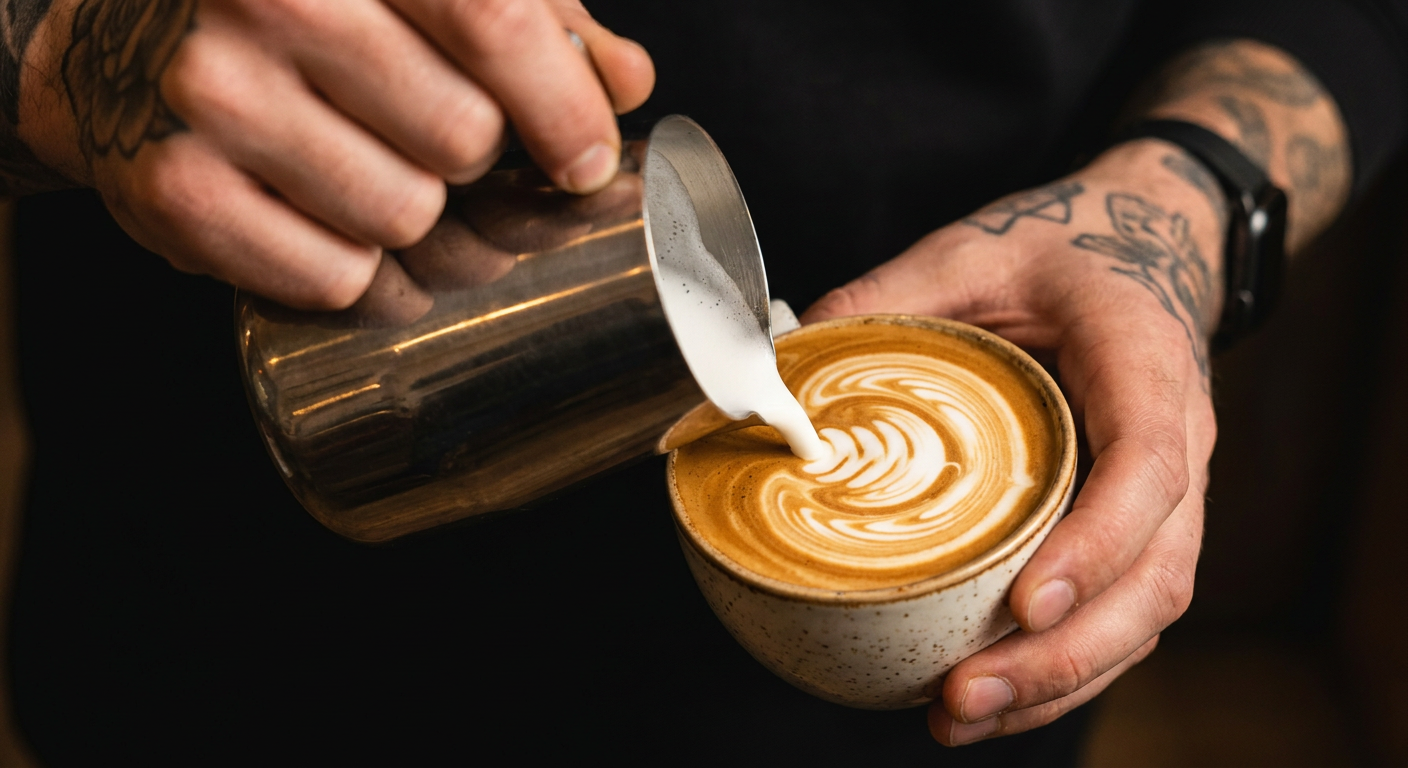
A beautifully poured latte is equal parts science and practice. The good news: anyone can learn to create silky microfoam and pour basic patterns at home. Here is everything you need to know to get started.
Understanding Microfoam
Microfoam is milk that has been steamed to incorporate tiny, uniform air bubbles — so small they are invisible to the naked eye. The result is a glossy, paint-like texture that pours smoothly and integrates with espresso rather than floating on top. This is fundamentally different from "foam" (large, dry bubbles that sit like meringue). Microfoam is the foundation of all latte art — without it, patterns are impossible.
Choosing Your Milk
Whole milk (3.5% fat) is the easiest to work with for beginners. Fat contributes sweetness and helps stabilize microfoam. The protein content (casein and whey) is what actually creates and holds the foam structure. Skim milk froths to a greater volume but produces thin, unstable foam. For non-dairy alternatives, oat milk (specifically barista editions formulated with added fat and protein) is the closest match to dairy for steaming and pouring.
The Steaming Technique
Start with cold milk (refrigerator temperature) filled to just below the spout of your pitcher. Purge your steam wand of condensation. Position the tip just below the milk surface at a slight angle. Open the steam valve fully. Phase 1 (stretching): keep the tip near the surface for 2–3 seconds — you will hear a chirping/hissing sound as air is introduced. Phase 2 (texturing): sink the tip deeper and angle the pitcher to create a whirlpool vortex. This spinning motion incorporates the air evenly and breaks up large bubbles.
Temperature Control
Stop steaming when the pitcher feels uncomfortably hot to touch — around 140–150°F (60–65°C). Above 160°F, milk proteins denature and the sweetness disappears, replaced by a flat, scalded taste. Below 130°F, the foam will not hold. Use a thermometer for your first dozen attempts until you develop the tactile feel. The sweet spot is 140°F — sweet, creamy, and perfectly pourable.
Preparing to Pour
After steaming, give the pitcher a firm tap on the counter to burst any remaining surface bubbles, then swirl the milk in tight circles for 5–10 seconds. This integrates the foam and liquid into a uniform, glossy consistency. The milk should look like wet white paint. If you see distinct layers of foam and liquid, swirl more aggressively or tap and swirl again. You have about 20–30 seconds before the foam starts to separate — work quickly.
Your First Pattern: The Heart
Tilt your cup at 45 degrees. Start pouring from a height of 3–4 inches above the cup — this sinks the milk beneath the crema and creates a brown canvas. When the cup is about 60% full, bring the pitcher spout close to the surface (nearly touching) and pour faster. A white dot will appear on the surface. Once it is the size you want, pull the stream straight through the center of the dot toward the far edge of the cup. This bisects the circle into a heart shape.
The Rosetta
The rosetta (or fern) builds on the heart technique. Start the same way — pour from height to fill the cup halfway. Then bring the pitcher close to the surface, increase flow rate, and begin gently wiggling your wrist side-to-side while slowly moving the pitcher backward (toward you). Each wiggle creates a leaf layer. When you reach the back edge of the cup, stop wiggling and pull a thin line straight through the center to the far lip. The result is a symmetrical fern pattern.
Practice Without Pressure
You do not need an espresso machine to practice pouring. Fill a cup with water mixed with a drop of dish soap (simulates crema color and surface tension) and practice pouring steamed milk into it. This lets you focus entirely on pour technique without wasting espresso shots. Alternatively, practice with just water in the pitcher — the motion and muscle memory transfer directly. Most baristas pull 200–500 practice pours before their patterns become consistent.